
FIT & INSTALLATION PREPARATION
Measure first. Confirm the connection.
This page helps prepare a compatibility discussion. A supplier-approved installation method, load limit, fastening detail and inspection criteria have not been provided.
Measure the panel
- Slat width and clear gap between slats
- Slat depth and felt / backing thickness
- Total panel thickness and rear clearance
- Surface and edge profile at the proposed connection
Describe the application
- Accessory reference and requested quantity
- Object dimensions and intended weight
- Wall substrate and panel fixing information
- Indoor conditions and access for checking the connection
Request written confirmation
- Connection and fastening method
- Permitted load and any test evidence
- Sample fit acceptance criteria
- Final drawings, packaging and commercial terms
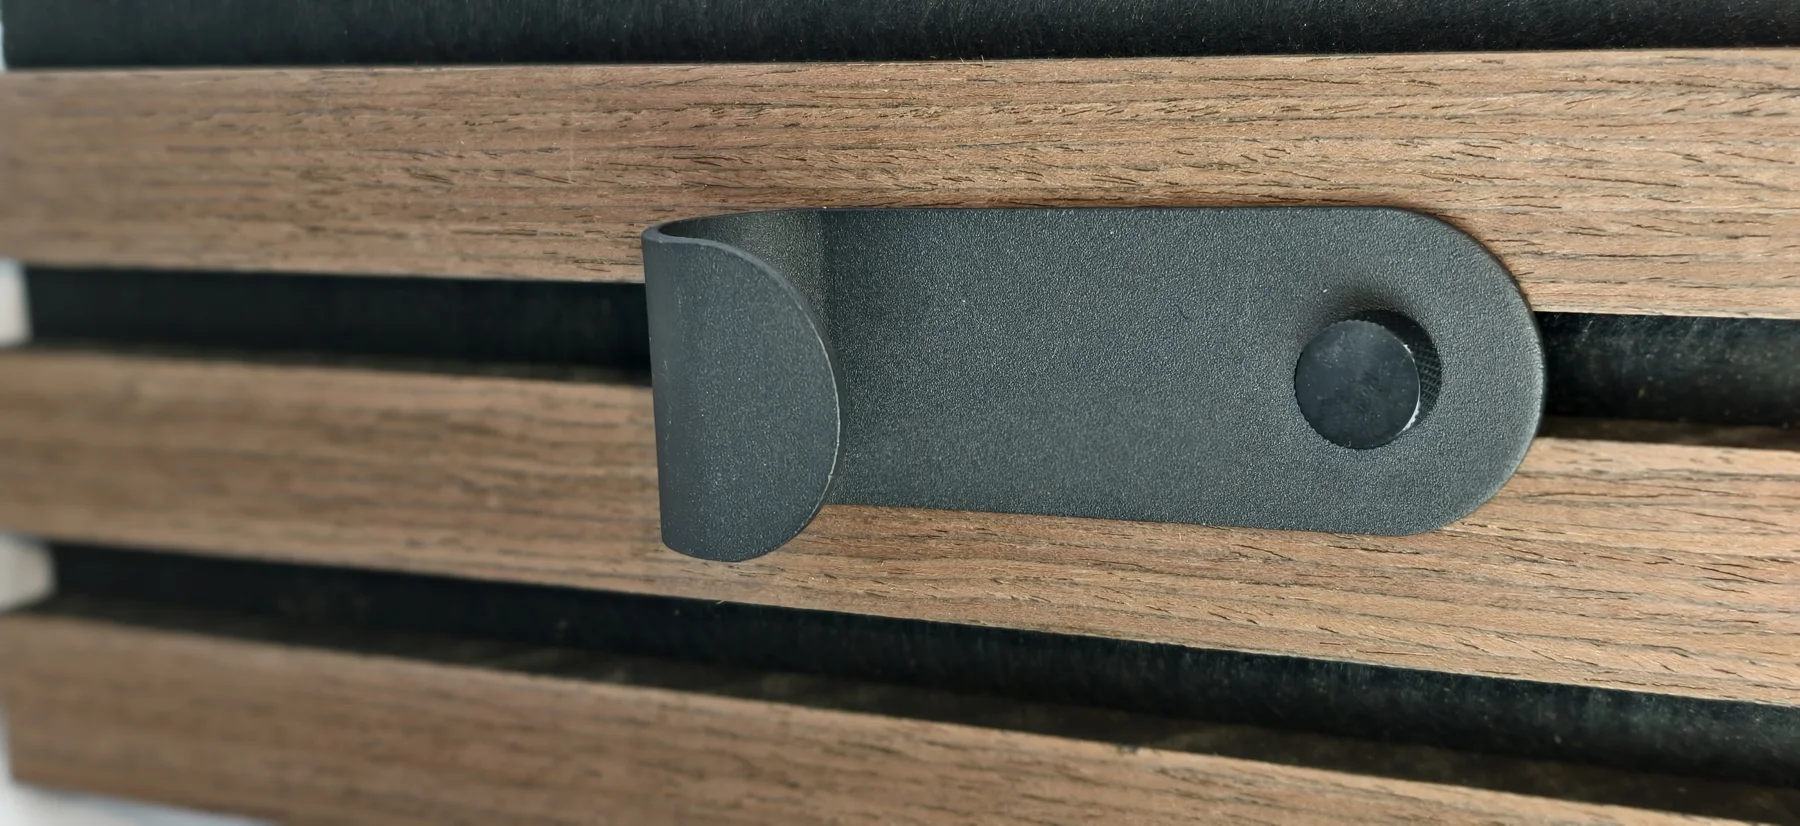
A sample photograph cannot approve a connection.
Identify the accessory and actual panel system. Request a dimensioned connection detail and verify access behind the panel. Agree what a sample fit check needs to demonstrate before placing an order.
Wall fixing, panel fixing and accessory fixing need to be considered together by the responsible supplier or installer.
AVAILABLE PHOTO VIEWS
Inspect the sample, then ask the missing questions.
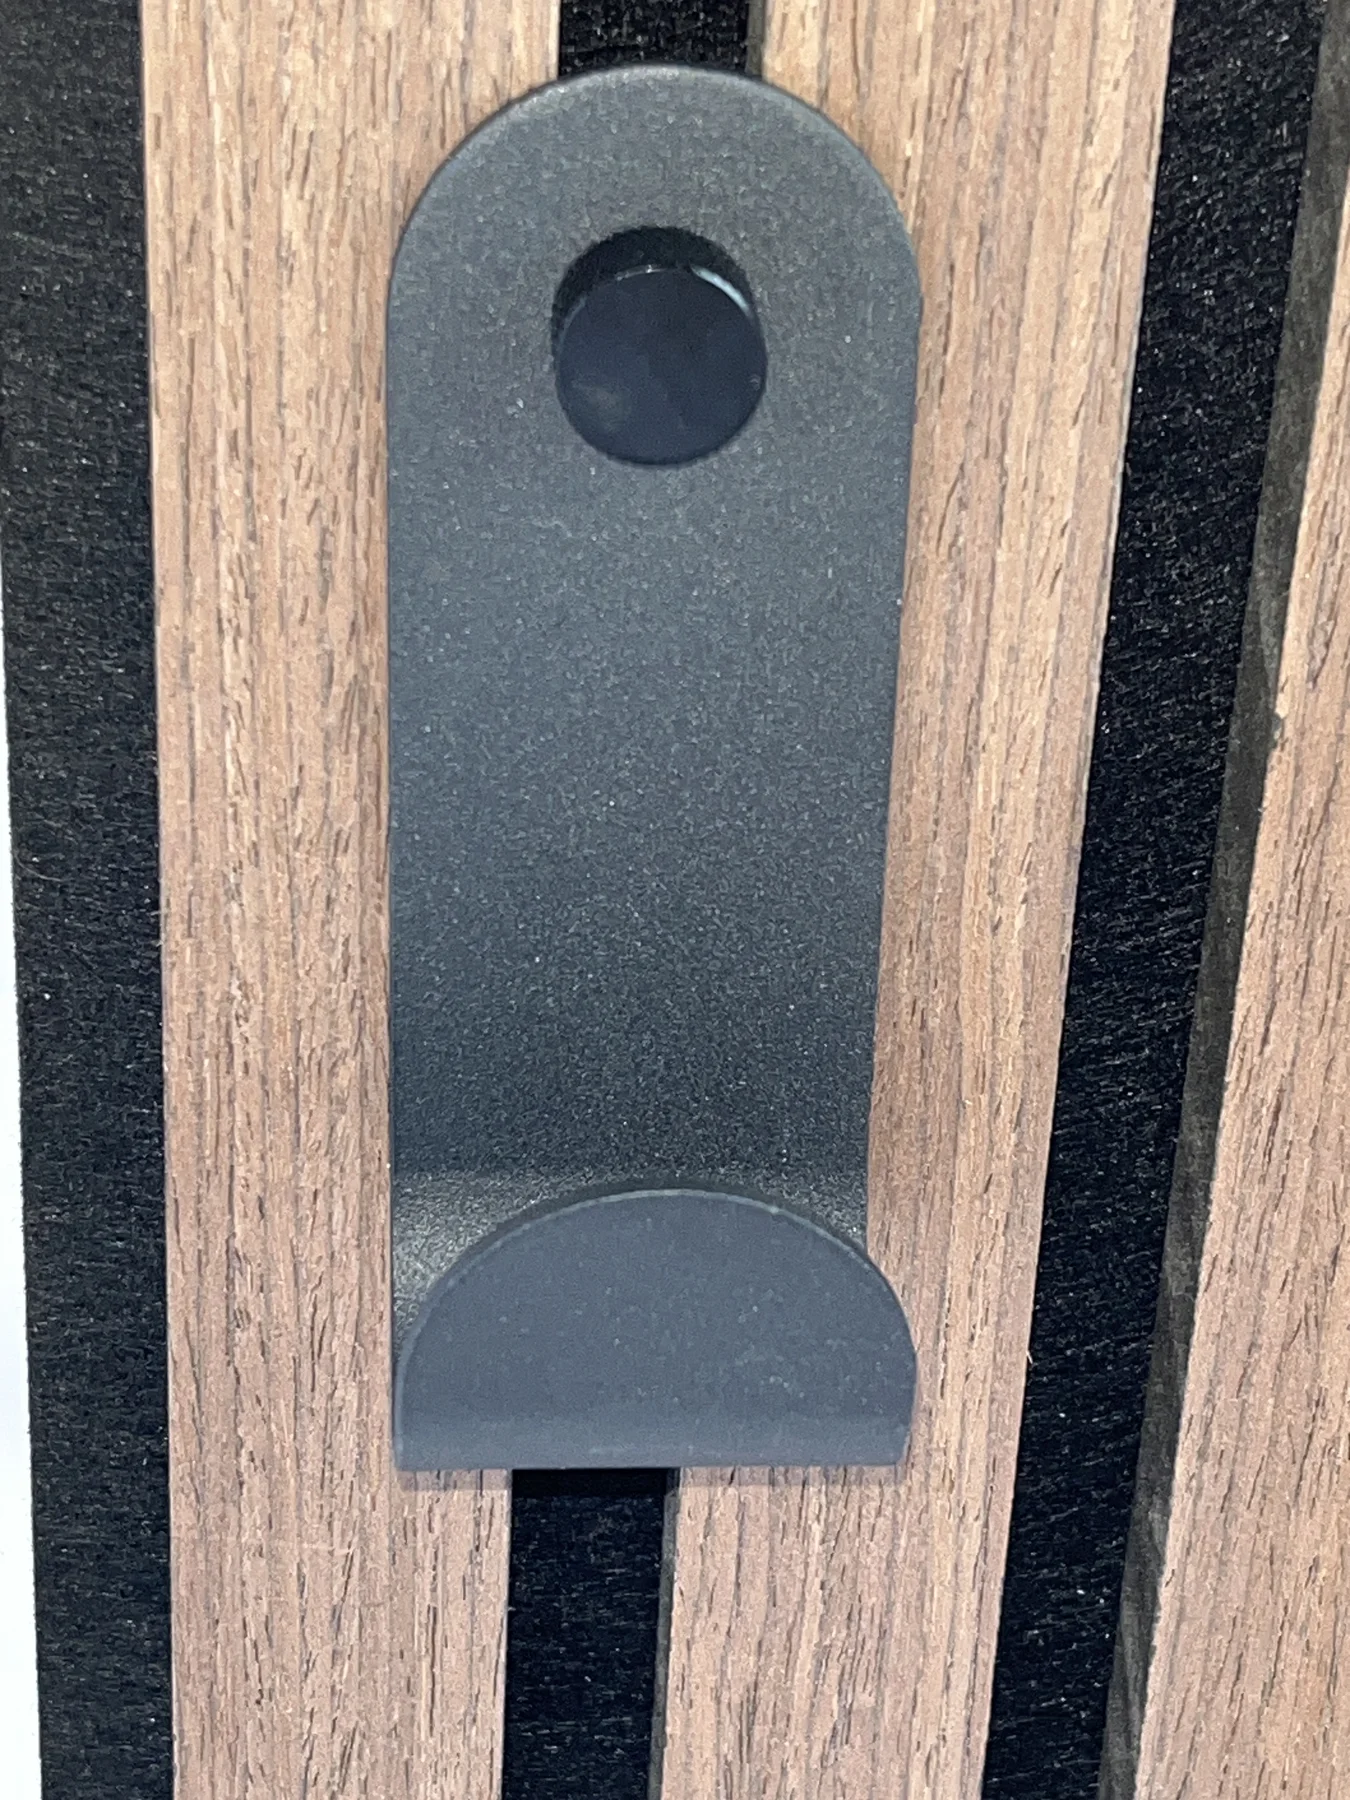
Source: local product photograph · a65-front.webp. Visible appearance only; model, material, dimensions, load and fit are unverified.
Technical views not provided
Dimensioned drawing · rear / connection section · exploded view · CAD file. Request these documents before approving a connection or fabrication detail.
Record the confirmation before using the accessory.
- Send measured panel geometry and photographs of the front, side and connection area.
- State the intended object, weight and position; request permitted loads and evidence.
- Request the exact parts, fastening method and inspection requirements.
- Agree sample fit acceptance, then retain the approved specification with the order.
These are buyer confirmation steps. They do not prescribe a verified installation sequence.
NEXT STEP
Put your panel information beside your selection.
Prepare a draft, add your photographs manually and send it to HAILING. Specifications and fit remain subject to confirmation.